My 12 Step Guide to Becoming an iOS Developer

First: Learn Swift and iOS Development. Use iTunes U and watch the Stanford courses. Casually mention to friends you’re learning online in a Stanford course. Don’t use traditional courses.

standford.png

Second: Buy a MacBook Pro for $4000 and an iPhone X for $2000. It’s ridiculous, but you tell yourself and your partner “its for work”

pasted-image-854.jpeg

Third:  Start a blog. Write posts with examples of the swift language guidelines.  Call Core plus your name. If your name is one syllable, or usually shortened it, lengthen it until at least two syllables appear. Use a .app or .me top level domain name. 

pasted-image-288.png

Fourth:  Get on twitter. Follow these people* (and me :P) and start replying to them. For your bio, say you are the principle iOS lead at a small agency.

Screen Shot 2018-08-28 at 10.24.35 AM-467.png

Fifth: Start a small agency. Use “boutique” to describe yourself and get a desk at WeWork. Build websites with Squarespace until you know how to build apps. Write an app for large company with your agency. Convince them to enter it in in an obscure award in their field. Win that award. 

pasted-image-471.jpeg

Sixth: Start a iOS development podcast. Form a panel of yourself and other iOS developer developers to discuss iOS development. As for a name, go with a horrible code reference to Cocoa, like Conversation.shared or iOSDevTips:atIndexPath:. Discuss your favourite open source projects by reading the first paragraph of their GitHub READMEs. The trick here is to make it about yourself, and add no value to your 7 listeners. Advertise mattresses. 

pasted-image-487.jpeg

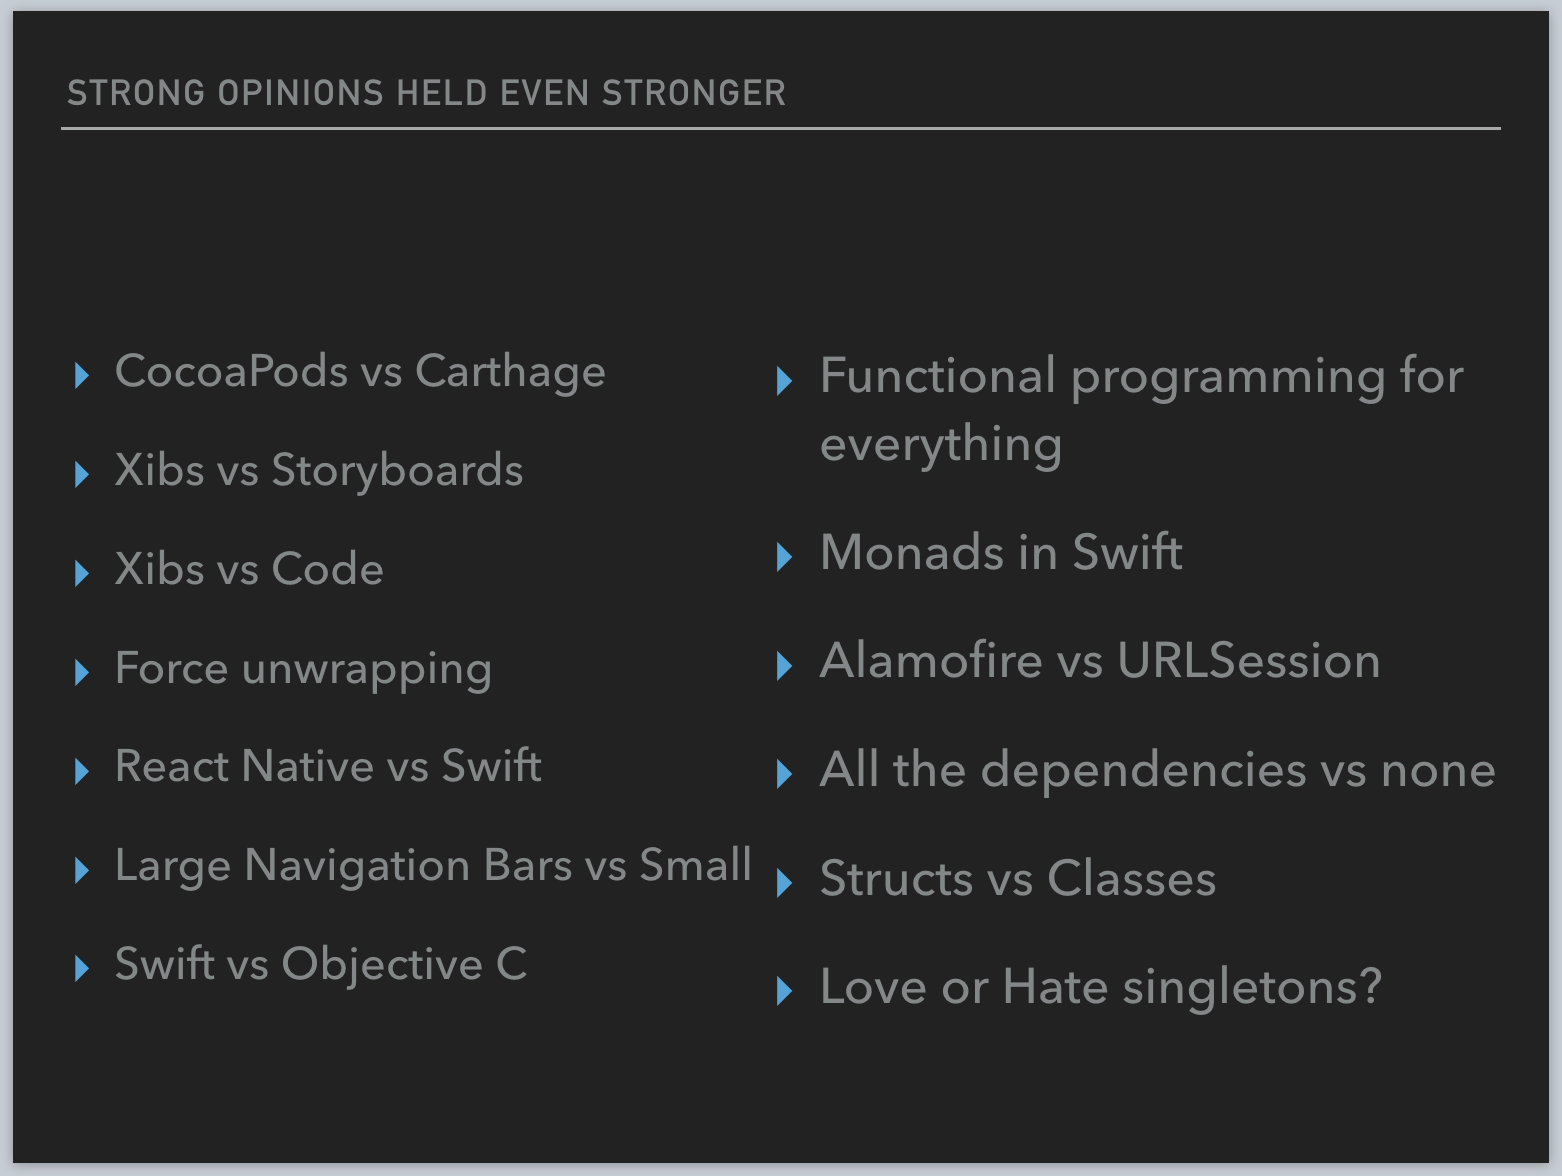
Seventh: Form an opinion on these things. The stronger the better. You’re an engineer, and that means going around with solutions already decided, ignoring the problem.

Screen Shot 2018-09-11 at 9.09.50 PM.png

Eighth: Pitch talks and go to conferences. Ask people what they do, even though you know its iOS development. Ask if they’re using Swift yet. Humble brag about using swift for so long with a phrase like “Oh, man, I remember it from the early days” or “Its been great to watch swift to change over the years”. Remember, the more you learned and then had to unlearn, the better iOS developer you are. Casually enquire if they use Fastlane.

pasted-image-662.jpeg

Ninth: Join reddit and stack overflow Gain karma and rep by posting questions from r/iOSPrograming to stack overflow and questions from r/iOSprogramming to stack overflow. Follow up with cross posting answers. 

Screen Shot 2018-08-28 at 10.40.56 AM-712.png

Tenth: Start a newsletter. Make sure “Weekly” is in the name. Subscribe to other iOS newsletters and write a script to take a link from each of them for your newsletter. Email it to your 58 subscribers on Fridays. Advertise mattresses.

Screen Shot 2018-09-11 at 9.10.04 PM.png

Eleventh: Worry about your career. Are you creating a meaningful experience for potentially millions of people or are you just putting JSON on a screen? Why don’t you get to solve fun problems like worrying about auto-scaling clusters, message queues, no-sql databases and cloud services? Have a career crisis. Watch App: The Human Story. Feel better. 

worry-768.png

Twelfth: Buy a 2007 WWDC Jacket off Ebay. Wear it. You were there. And people should know it. 

…And that is how you become an iOS Developer!  

*And some underrepresented folk too please.


This was a lightning talk given at /dev/world/ 2018, and you can find the recording here. If you’d like more geeky and niche comedy, follow me over on my twitter account - @samjarman. Talk inspired by Struthless.

Resurrecting a Raspberry Pi for HomeKit Webcam

Hi There,


Recently I attended the quite excellent Wellington Home Automation Hackers meetup here in Wellington, New Zealand. Inspired by the talks, I decided I'd dig back out my raspberry Pi and get into something!

So, ignoring my other side projects, I got into it. I plugged in my Pi for the first time since 2014, fearing the worst. To my plesant surprise, it booted just fine and even connected to the wifi with relative ease. I ran `apt-get update` and `apt-get upgrade` (one fetches the latest versions of things, the other actually installs them). I tweeted about it, and then took off for a chore. 

I came back to twitter with a reply saying I should probably just reflash it. After a day or so of thinking about it, I thought yeah, might as well.

So, off to the raspberry pi website I went to fetch the latest raspbian. I thought, oh, I need the GUI (mainly just wanted to see the progress in 4 years - spoilers - excellent). However, once downloaded and attempted to be flashed with Etcher as per these instructions. However, since my SD card was only 4GB, I had to opt for the Lite version of the OS, so I went with that.

From there, I could upgrade from Raspbian Lite (fresh install) to Raspbian with PIXEL GUI with a 4GB card by running these commands in order:
 

sudo apt-get update
sudo apt-get install --no-install-recommends xserver-xorg
sudo apt-get install --no-install-recommends xinit
sudo apt-get install raspberrypi-ui-mods #PIXEL GUI
sudo apt-get install lightdm

That took some time, and once a reboot was done, we had a GUI. From there, it was time to get Homebridge set up.


There was a couple of gotchas here, to say the least, so I followed this guide. I ended up running these commands for my PI. 10.9.0 was the latest at the time.

wget https://nodejs.org/dist/v10.9.0/node-v10.9.0-linux-armv6l.tar.xz
tar xJvf node-v10.9.0-linux-armv6l.tar.xz
sudo mkdir -p /opt/node
sudo mv node-v10.9.0-linux-armv6l/* /opt/node/
sudo update-alternatives --install "/usr/bin/node" "node" "/opt/node/bin/node" 1
sudo update-alternatives --install "/usr/bin/npm" "npm" "/opt/node/bin/npm" 1

I then installed Avahi and other dependencies, which is required by the mdns package in HAP-NodeJS library. (Apparently, I dunno, just reading that guide...*)

sudo apt-get install libavahi-compat-libdnssd-dev

From there, I could install HomeBridge. I ran

sudo npm install -g --unsafe-perm homebridge


From here, I found text editing on the PI tricky (hands up if you don't know Vi...). So I created the config.json file for it on my Mac, turned on SSH (changed the default password first), and copied it over with SCP, the easiest of linux commands. (Sarcasm). 

I then followed these instructions to add the webcam via ffmpeg. 

It took a reboot again and a few attempts to pair with Home.app on my phone, but eventually it just worked. I could see a 720p feed of myself. That was worth the 2 days. The mirror in here is lame anyway.

Next steps for this tinkering is to add Homebridge to system services so it starts automatically after a boot, and I'm looking into homebridge compatible wall sockets too, as I have a Lava lamp here that I think would be better controlled from my phone. 

Until next time...

Sam


*Yeah, I'm just blindly following install instructions from the internet with minimal. I'm being quite cavalier and I do not recommended this approach for your daily driver computer. But this is a Pi, I can flash and start again if I break something.